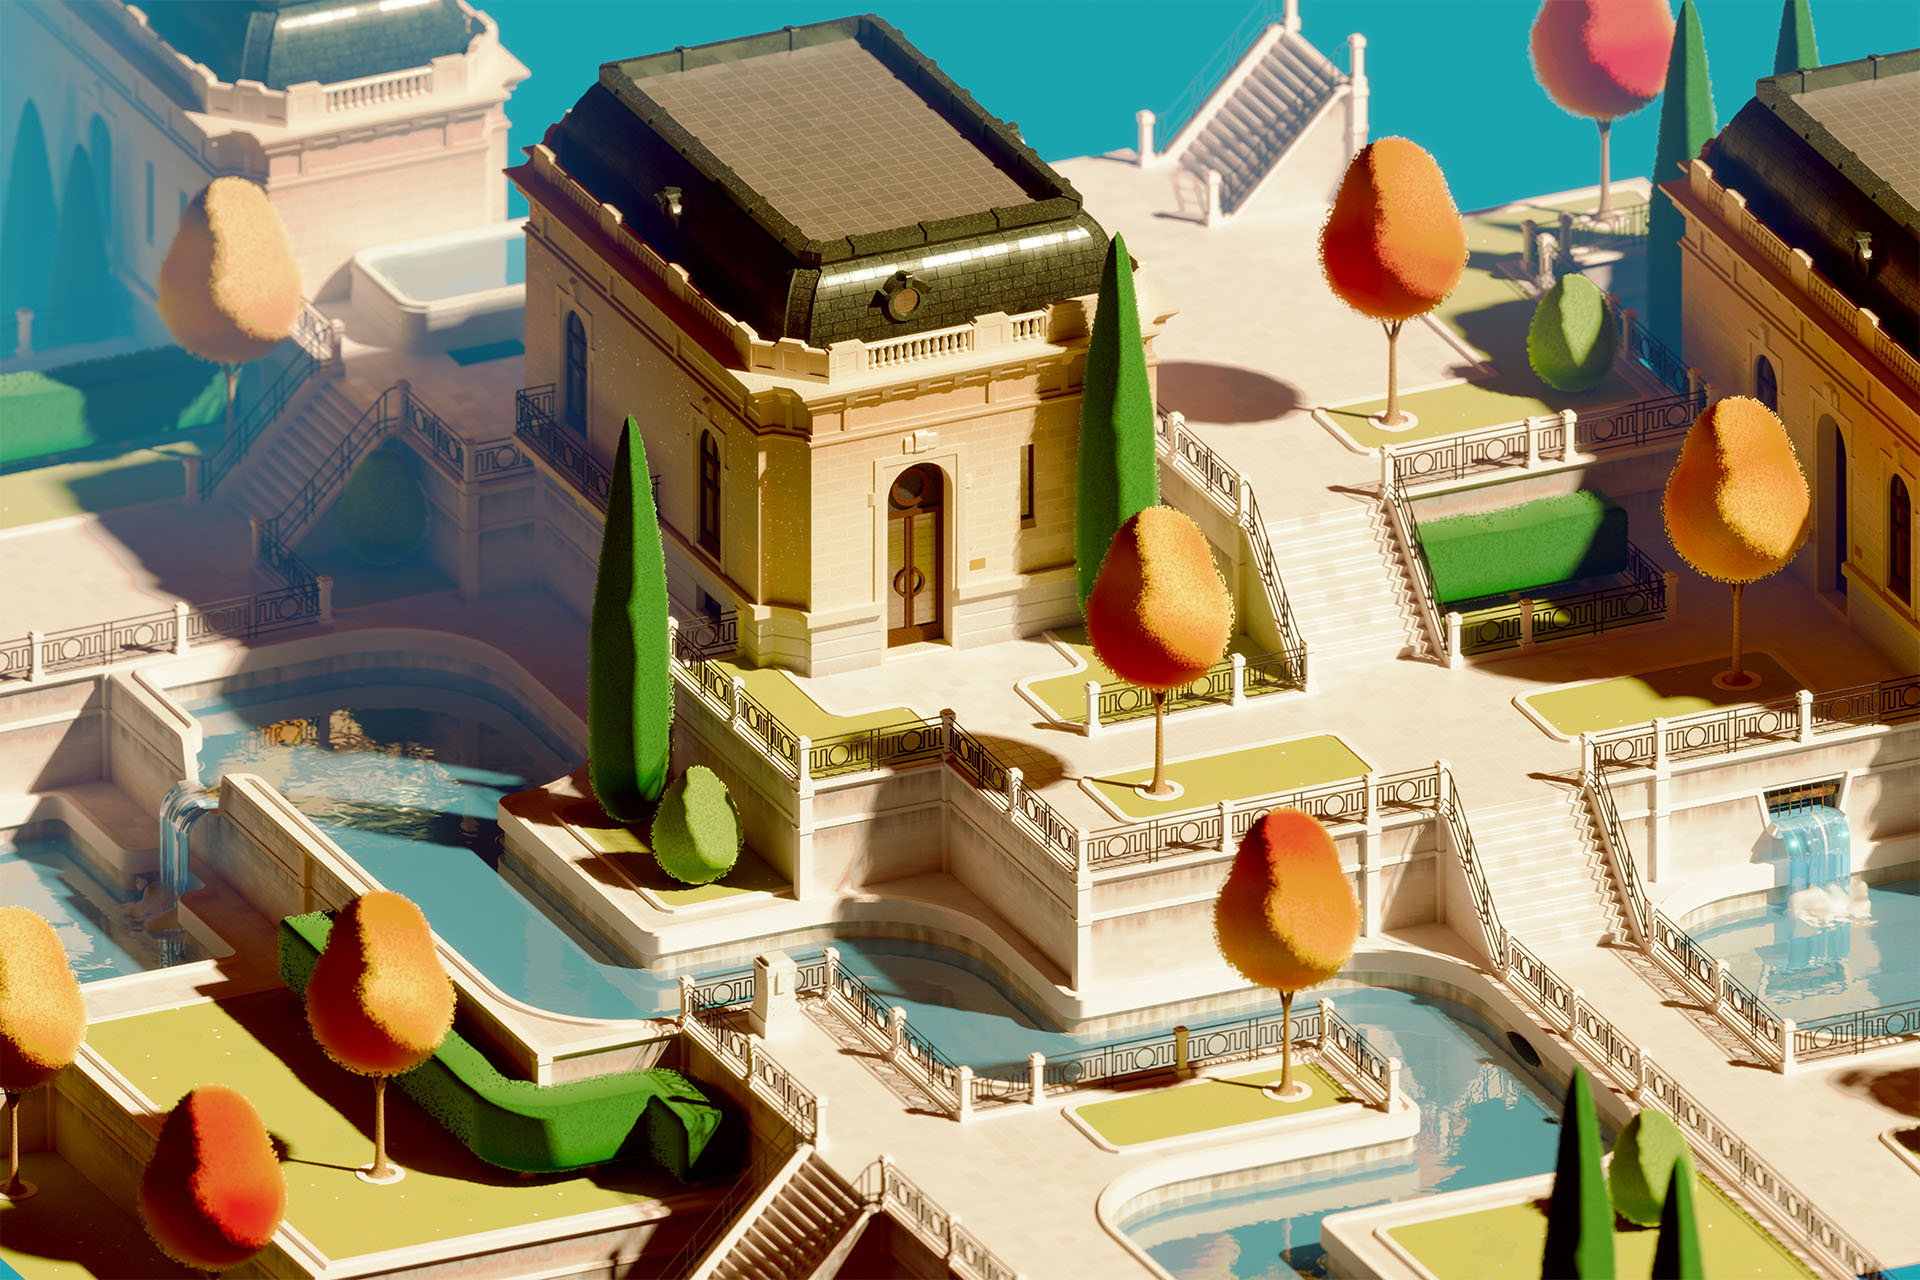
Here's a fourth update to the most recent version of my Parks project in Blender.
I've added and moved a few elements here and there since the last version. The biggest change is a little more under-the-hood, though it is obvious when you compare the images directly; I've re-worked the core of my water shader/material.
It's still not quite where I want it to be, but the ripples look more water-y to me, and it's now a lot simpler in how the effect gets built. It also plays nicer with the waterfall objects, which were looking a little too much like plastic to me in the last iteration.
Since the last version, I also had an opportunity to explore the scene in VR, using my Oculus Meta Quest 2. The scale of things looked mostly okay, but the "small" hedges, which are meant to be about waist-height, are almost as tall as me! So, I'm sort of entertaining the idea of re-working those. And then back to building out the rest of the scene and adding some more park objects to it.
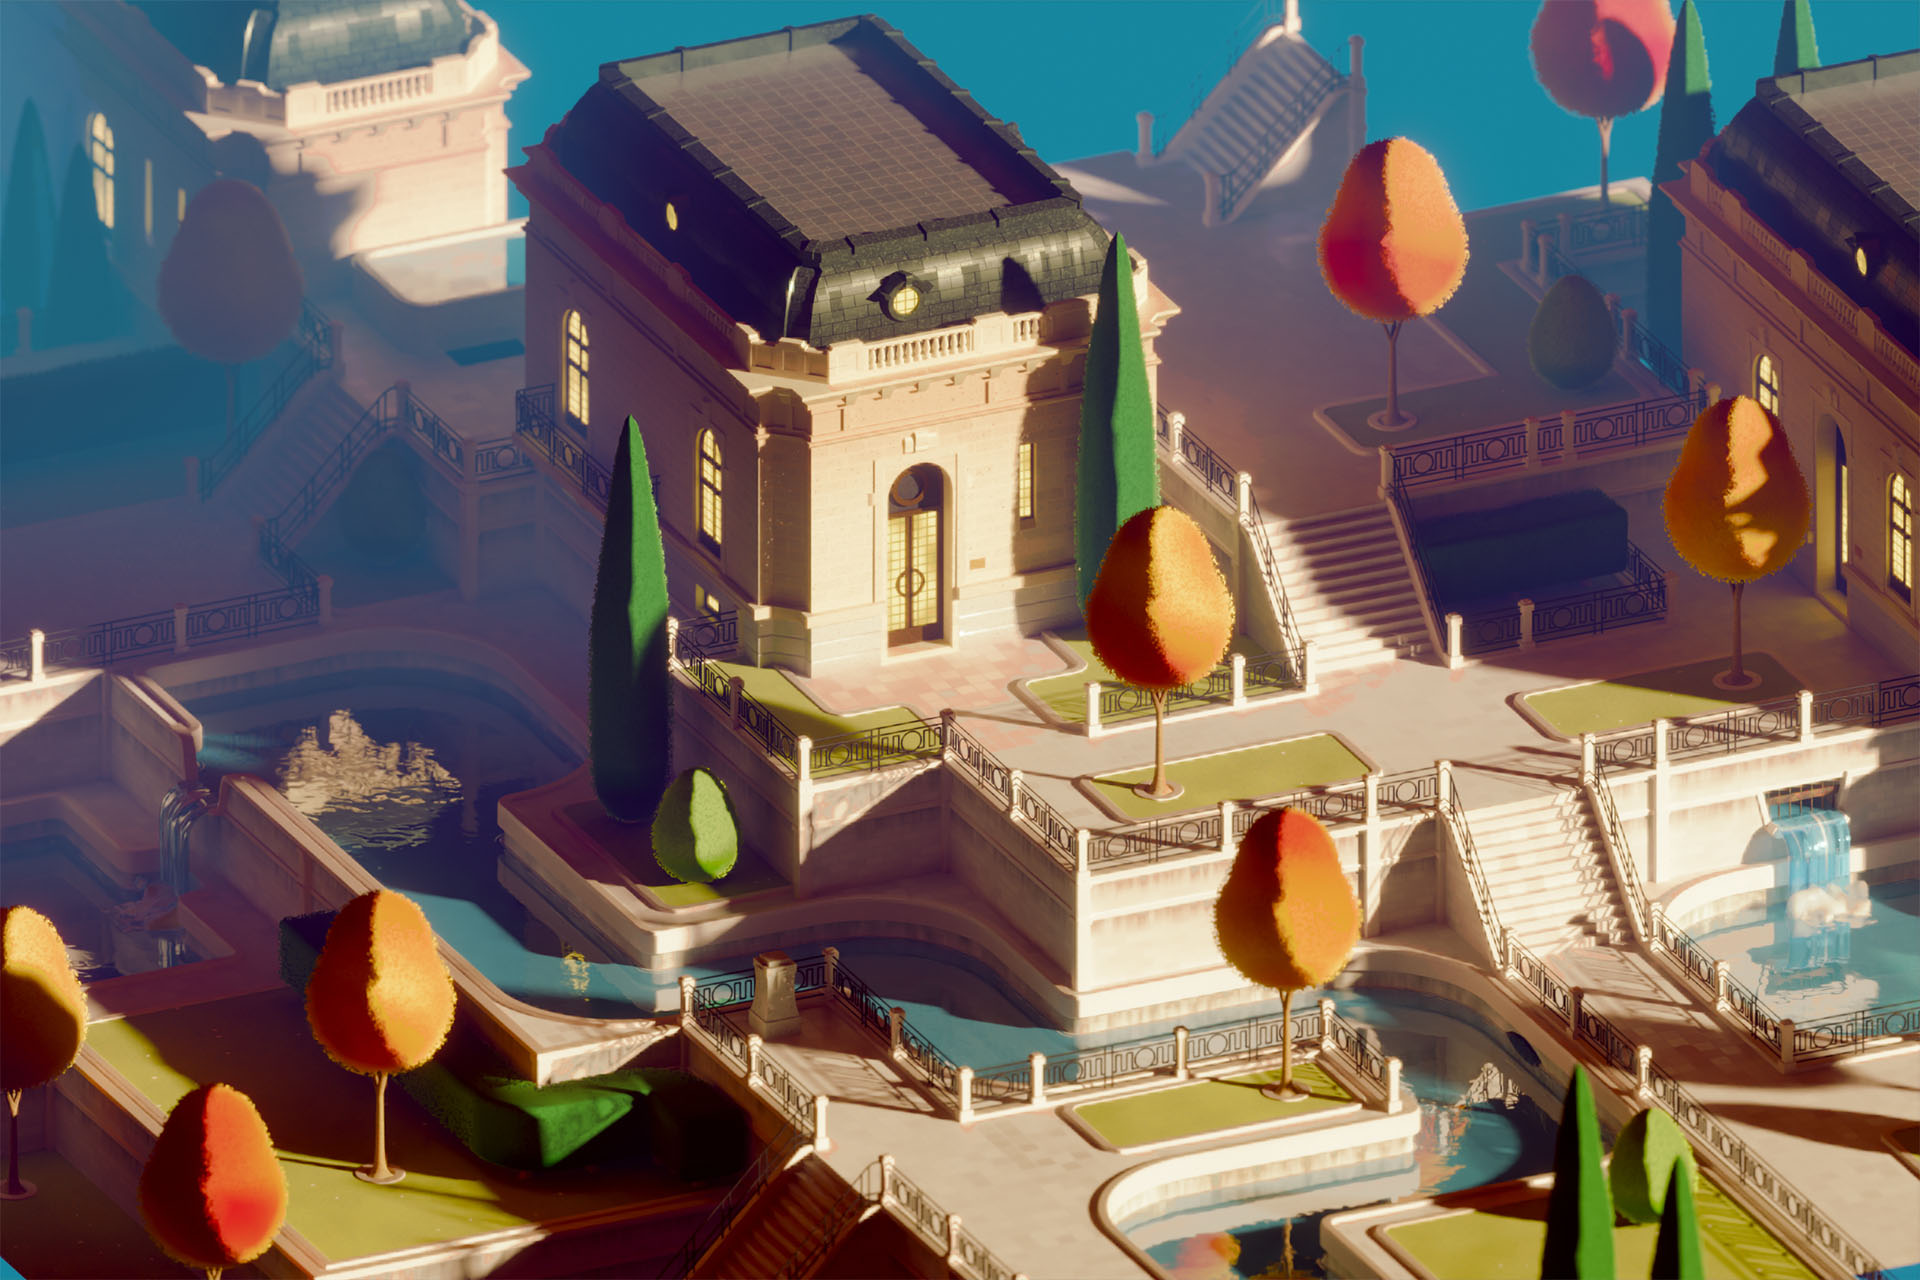
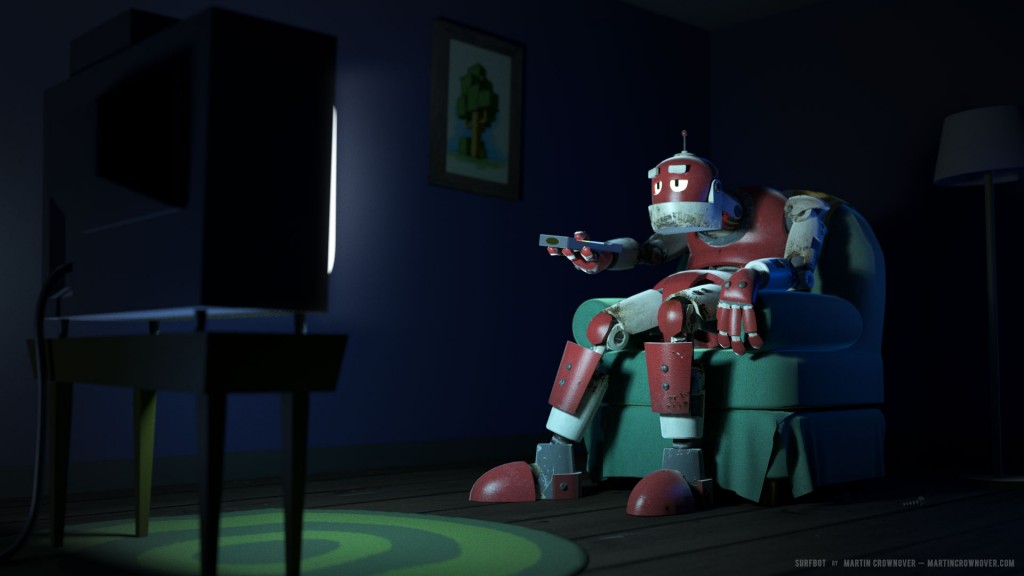
I also did a test render of a different lighting setup that I thought was cool. Check this out:
This is a night/sunset scene, and I can now make all the windows light up with just one click, controlled by a world variable in Blender!
I'm not sure which I like better, honestly. But it's easy to switch between the two setups, so I'll keep plugging away and experimenting. If I end up going with the latter setup as the final, I'll have to tweak the color corrections a bit - there is a lot of odd pink-ish banding in the highlights.
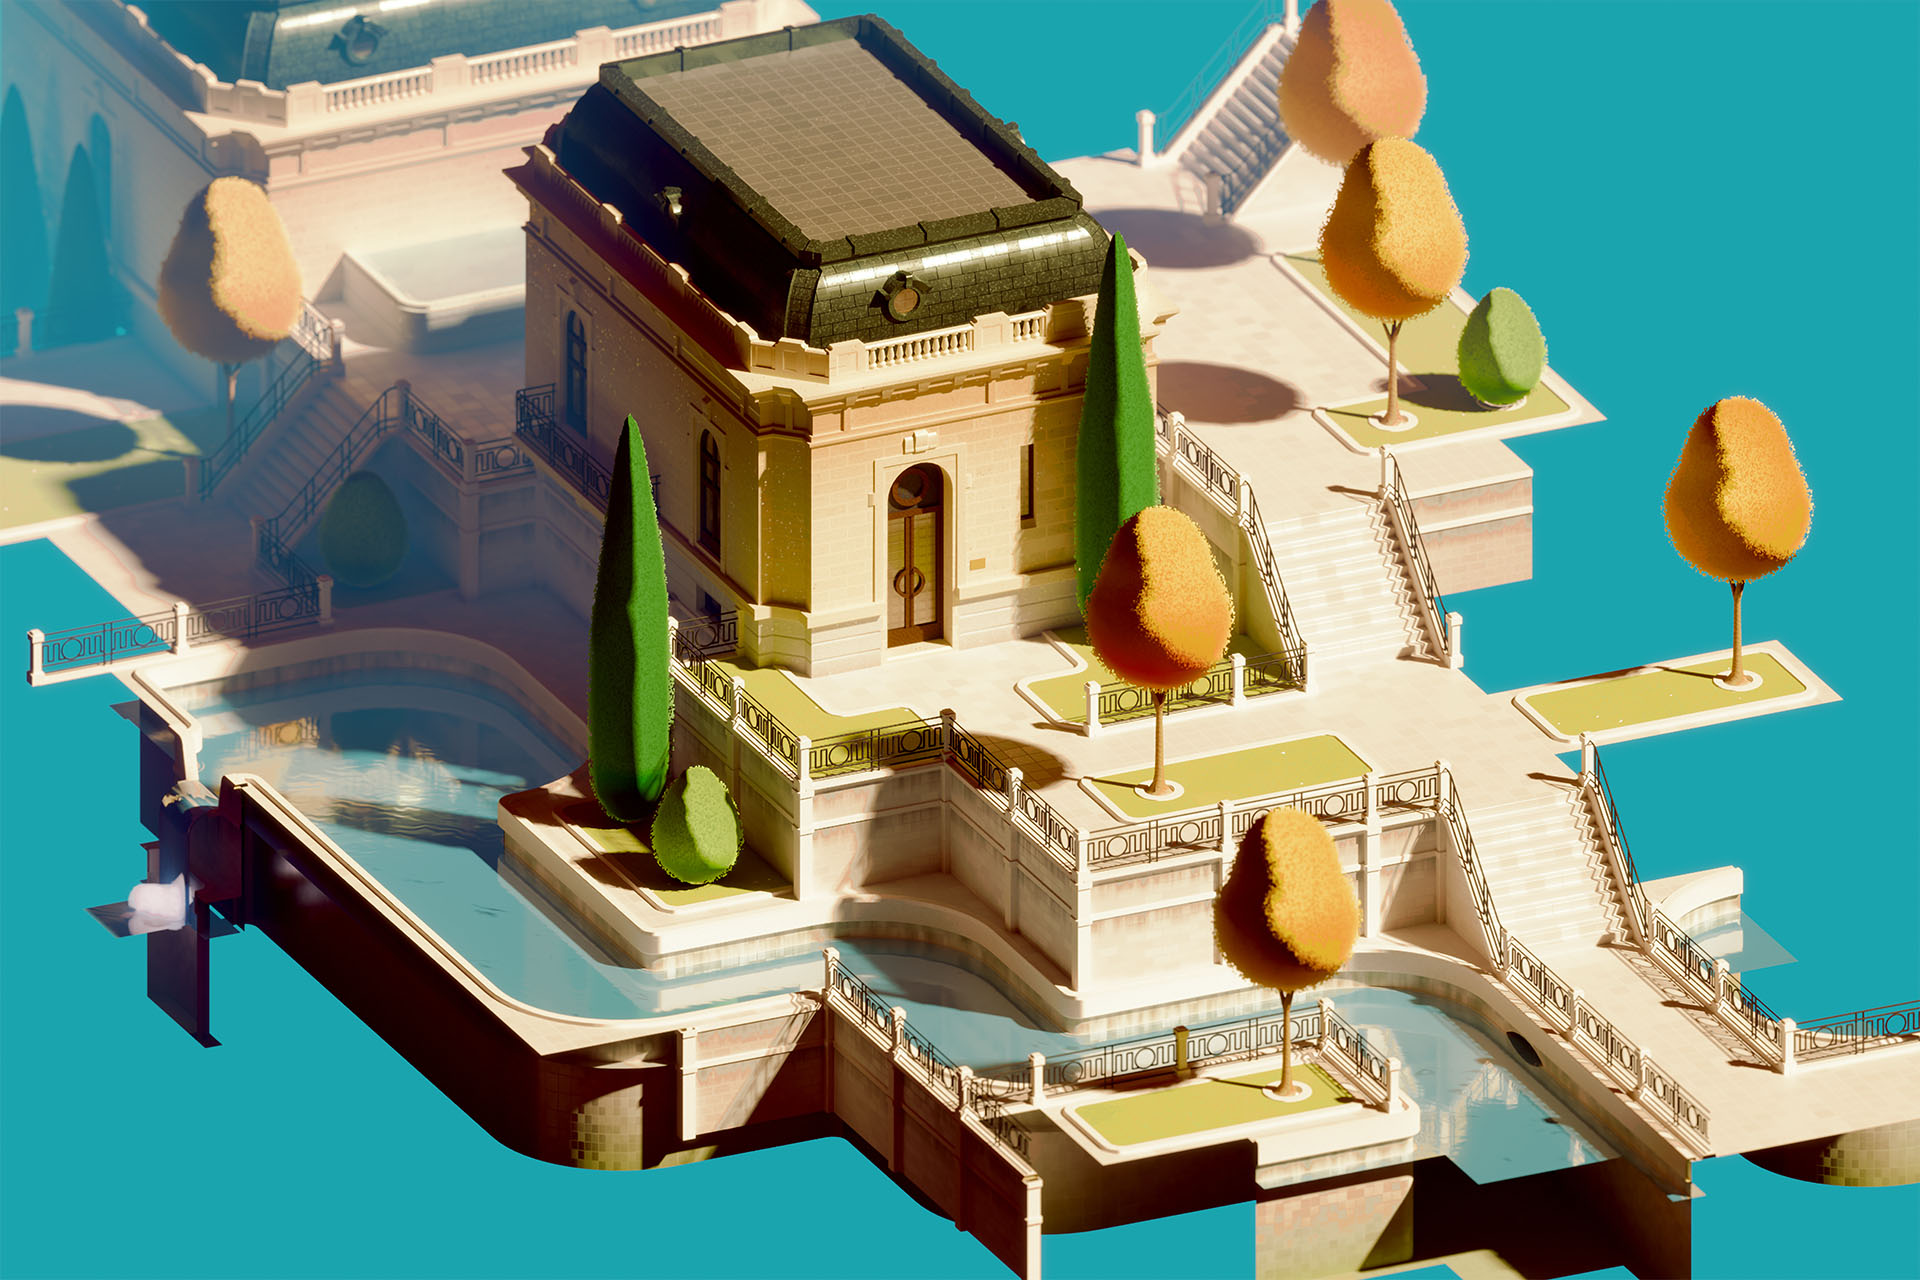
I wasn't happy with how the volumetric material for the waterfall splashes looked, so I re-did those. I also pumped up the red and yellow contrast in the trees, and added some hedges.
I want to make some additional objects, like benches, lights, trash cans, etc. but I'm a bit worried about the can of worms that might open up. I've never done a proper scale test with the parts in this scene - that is, I've never dropped in a 2 meters tall human shape to see how things look in proportion - so I've been reluctant to add objects like that.
Just eyeballing it, things look mostly right. The hedges seem a bit chunky, maybe. Editing the width of them would be a pain, but... now I'm tempted. Maybe something I'll do further down the road.
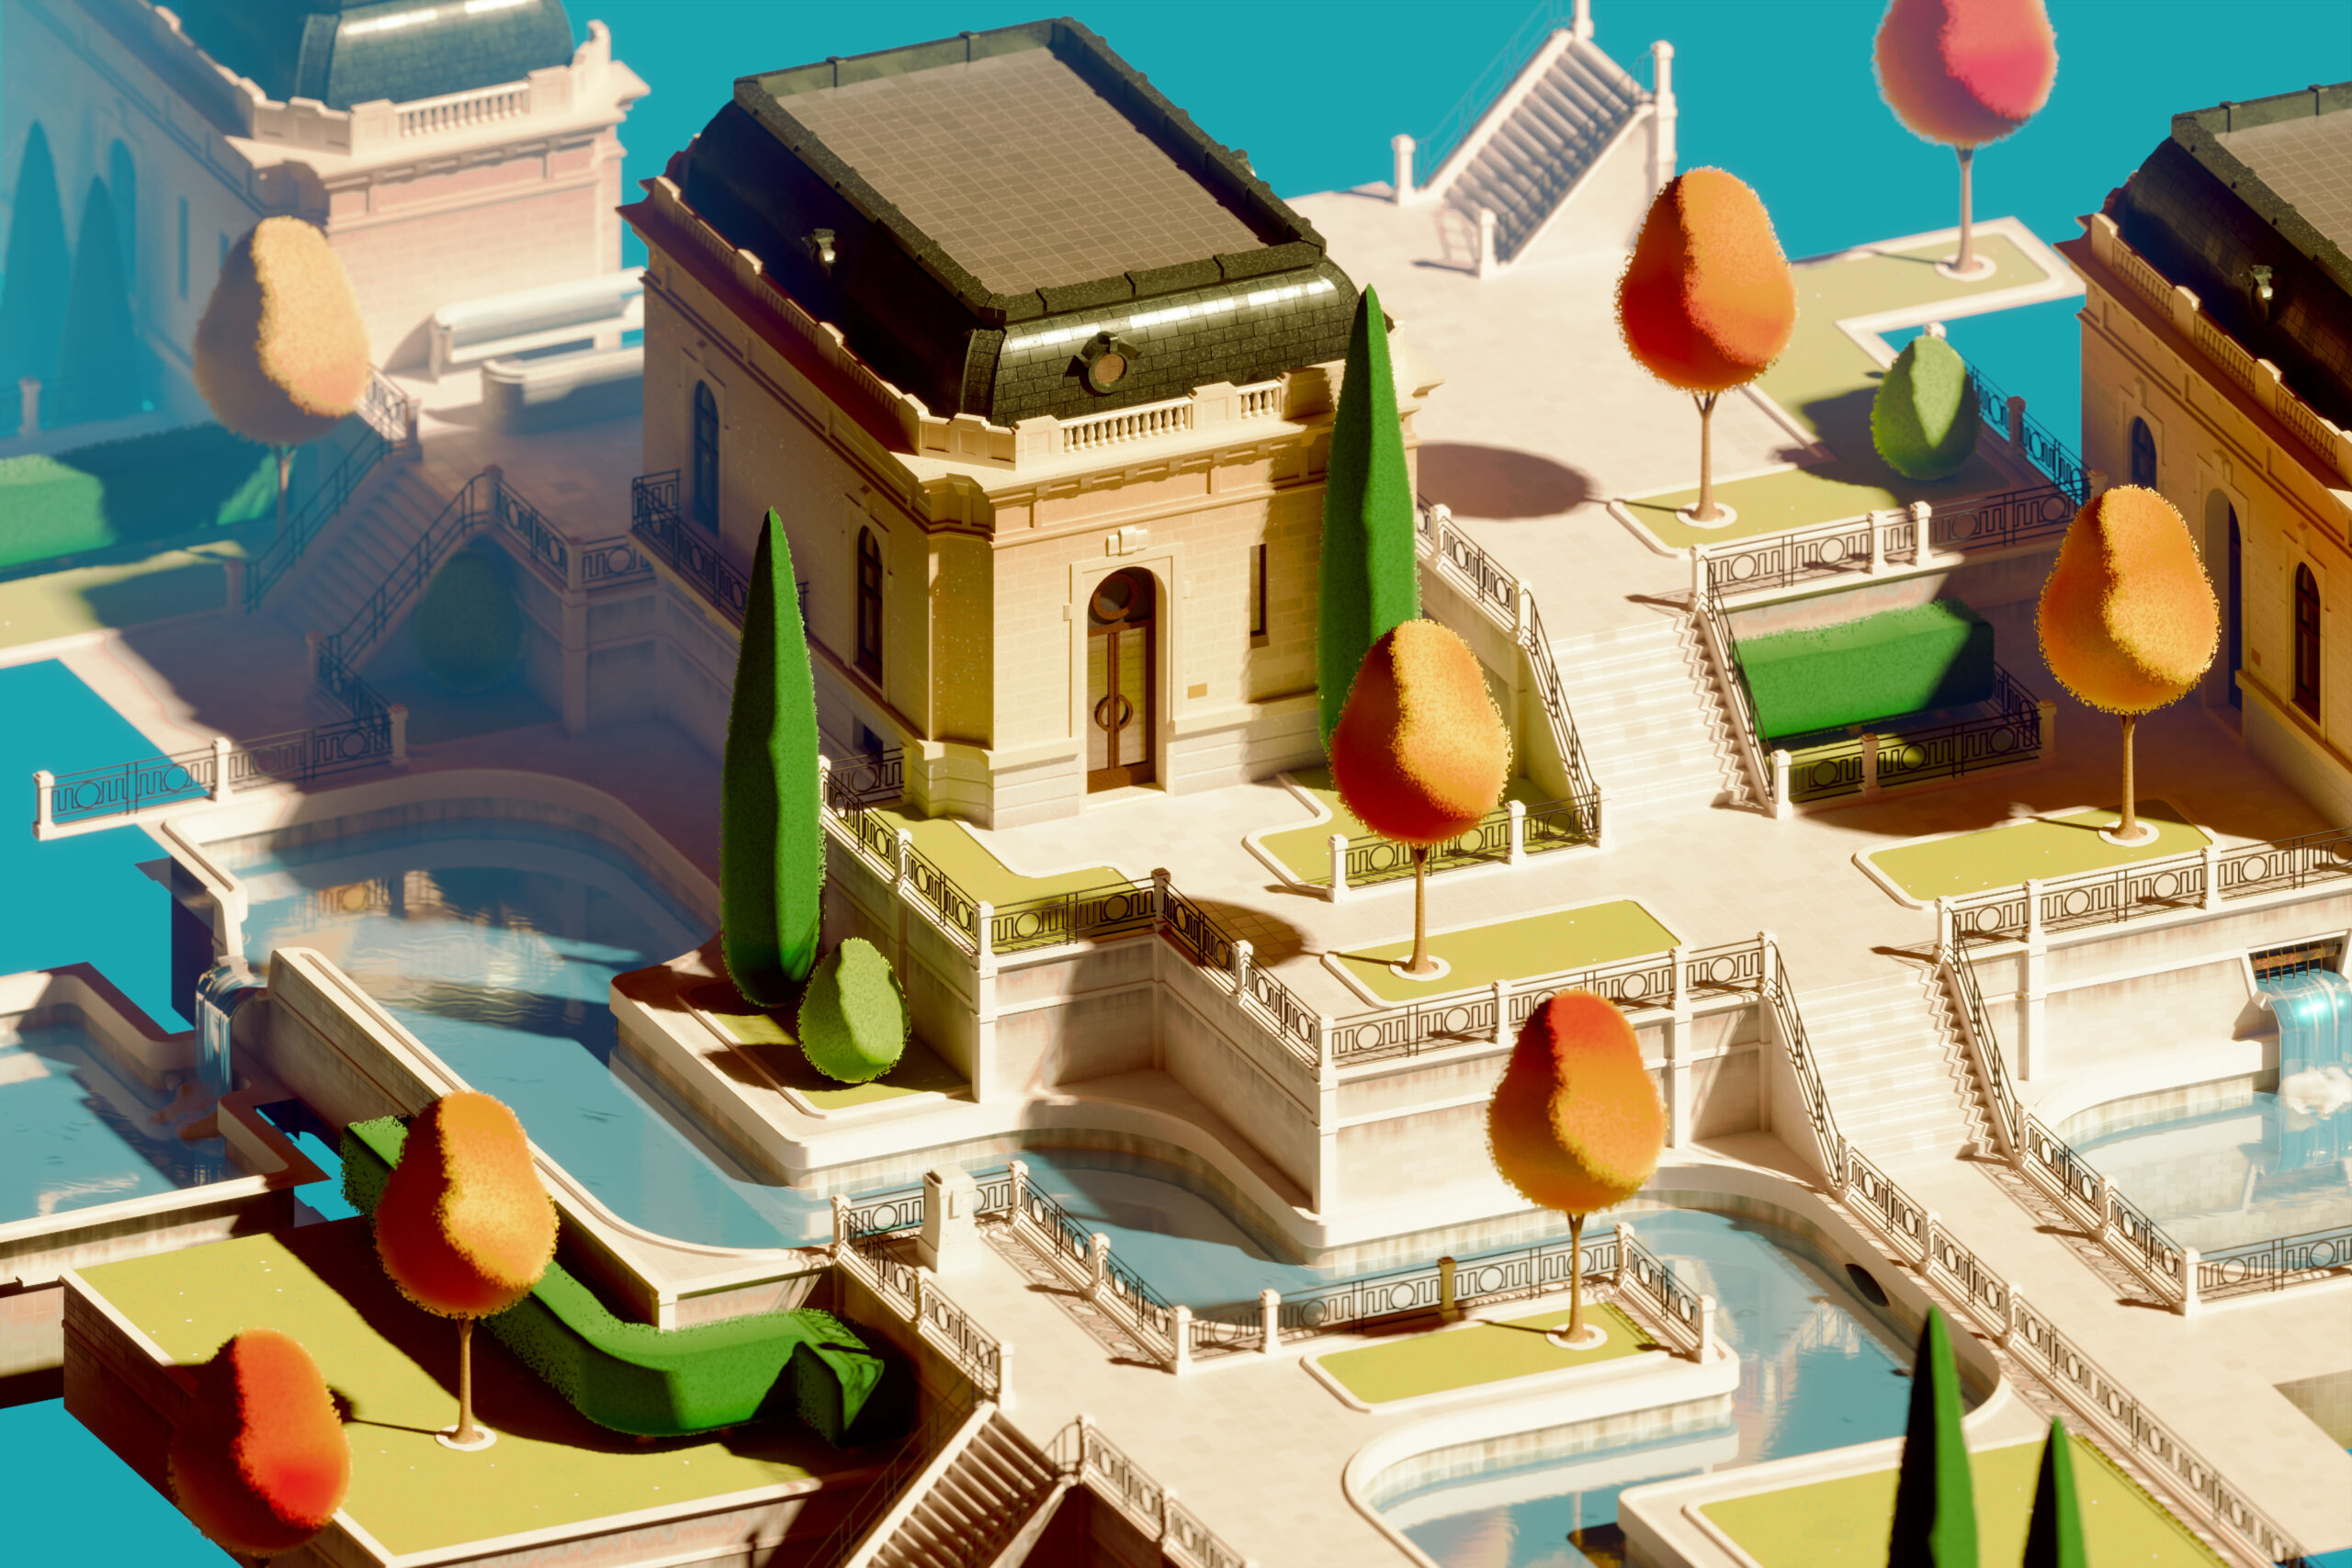
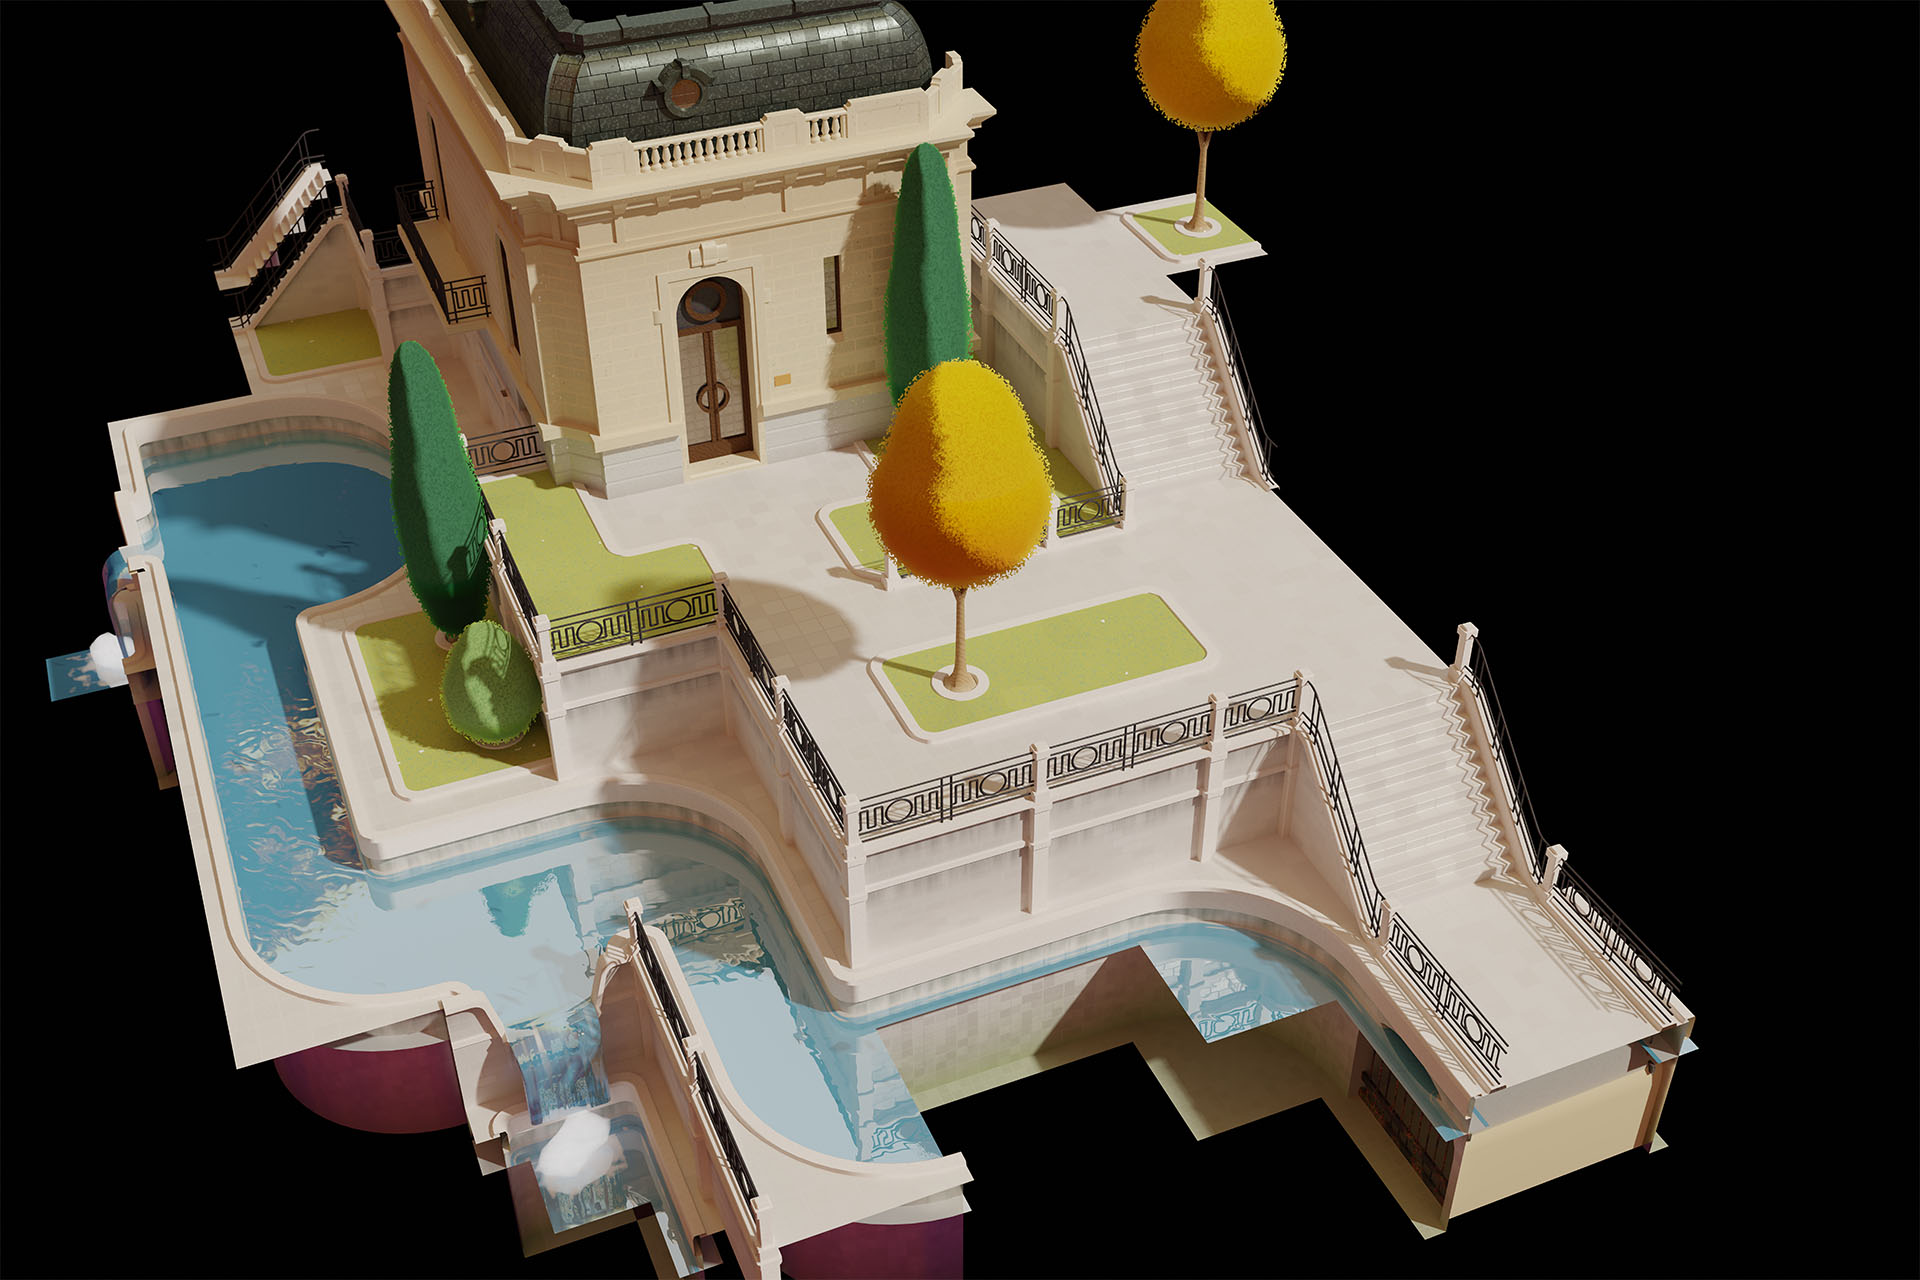
Here's an update to the test render I posted last night!
I've made some changes to the way the park is laid out, mostly on the lower canal level, changed the camera to be isometric, and adjusted a few other things.
One of the bigger changes is the atmospheric effect and coloring, which is all currently being done in Blender's compositor, with color correction, and glare. I don't usually do it that way - I usually do color corrections in Photoshop - so this is sort of an experiment.
More updates to come, as I have time to work on this more!
I've been playing around with the pieces I made for the Modular Park renders back in 2016, adding some stuff, editing some others, and trying to just build up a collection of parts to make more pleasant places with. I made this test render today just to see how things are shaping up.
Still some work to do, but I do enjoy making cozy little outdoor spaces with these parts. 🙂
Some of you might already know this, but back in September of this year, I ended my job at CytoSport, Inc. to pursue other interests. So far, things have been going well for me, and I have been doing a lot of interesting and challenging contract work. Much of that work has been in Blender, software which, at this point last year I'd barely touched. A lot can change in a year though, and as it happens, Blender is now one of my favorite pieces of software. It has completely replaced my ancient copy of trueSpace for 3D development.
I'm still in the process of learning more about Unity for game-making, but in the meantime, one piece of software which I still like to dabble with now and then is GameMaker. Though I never seem to have enough time for personal game-making as I'd like, I still get a kick out of firing up GameMaker: Studio and trying ideas out.
Recently, I've been bungling around with GameMaker's 3D graphics again. I know the program isn't suited for anything particularly grand when it comes to 3D projects, but I like it nonetheless. One issue I kept running into though was getting my 3D models out of Blender and into my game.
Traditionally (even as described in one of my tutorials) this is a somewhat convoluted process. One would have to make a 3D model, save it to a format one of the many 3D programs / scripts people have written over the years would read, and then use one of those to load the model directly into the game, or more often the case, convert the model to a format GameMaker would understand, and then load that into GameMaker in a separate step.
Along the way, all kinds of odd things had to be done, and the software one chose to use had to suit those needs. UV maps had to be flipped. Models needed to be rotated 90 degrees this way or that. Normals were often lost in translation or reversed. I often found that my models wouldn't turn out exactly right - somewhere in the process, the numbers describing the locations of the vertices in my models would get rounded off! Worse still, one had to jump through each of these hoops each time a model needed to be updated or added to the game. Slight revisions to geometry or UV map would take a long time to implement. In short, it was not a lot of fun.
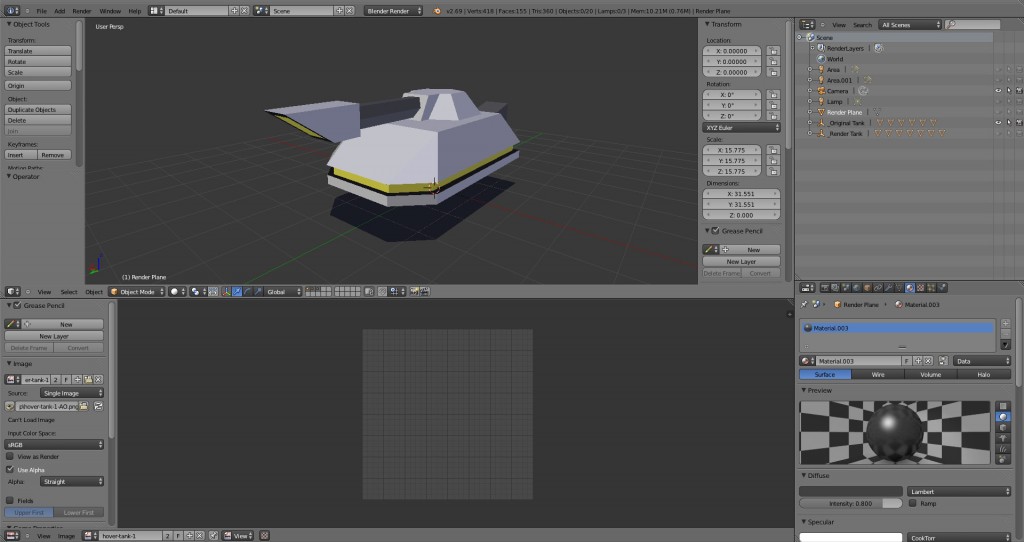
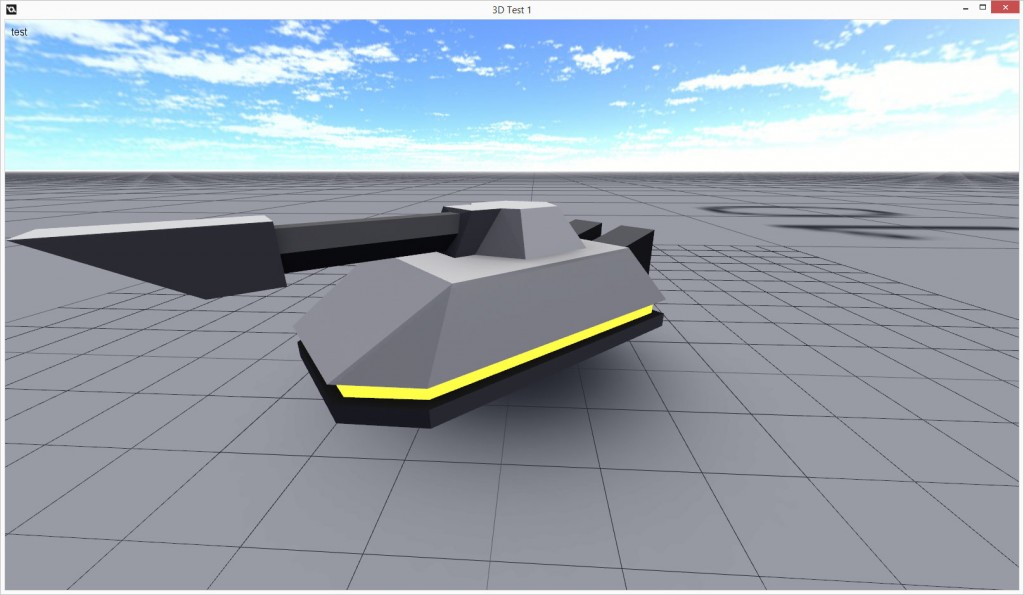
So, with my recent work in Blender, and my lasting interest in GameMaker, I decided there had to be a better way to do all of this. I searched around for examples of export scripts for Blender, and after finding a suitable starting point and reading a little bit about Python, I cobbled together something that works much better than the convoluted mess I described above - I've crafted a nice little export script for exporting 3D objects directly from Blender to GML.
It wasn't a particularly hard project, and I'm sure the script lacks a lot of the finer points that someone who really knows what they are doing might have done, but it works, and I'm happy with it. And I'll have a link up on the site soon.
Basically, this new script will let you select an object in Blender, triangulated or not, and with about two clicks of the mouse, export it as a text file which contains all the GML code needed to create the model in GameMaker. If one wanted the model to exist externally from GameMaker but still in GameMaker's native model format (which is very quick to load), it would then be trivial to save the model and from then on, use the new external file.
A lot of credit for this script is owed to Jeff LaMarche for his work on a script he built for converting Blender models to a suitable format for Objective C/iOS development. I used his script as a template to write my own, and I could not have created this without his as a starting point.
Anyway, I'm going to have to write up a bit more about how to use the script, but I'll have it online soon. I hope that it makes it easier for people to get quality 3D graphics into their games!
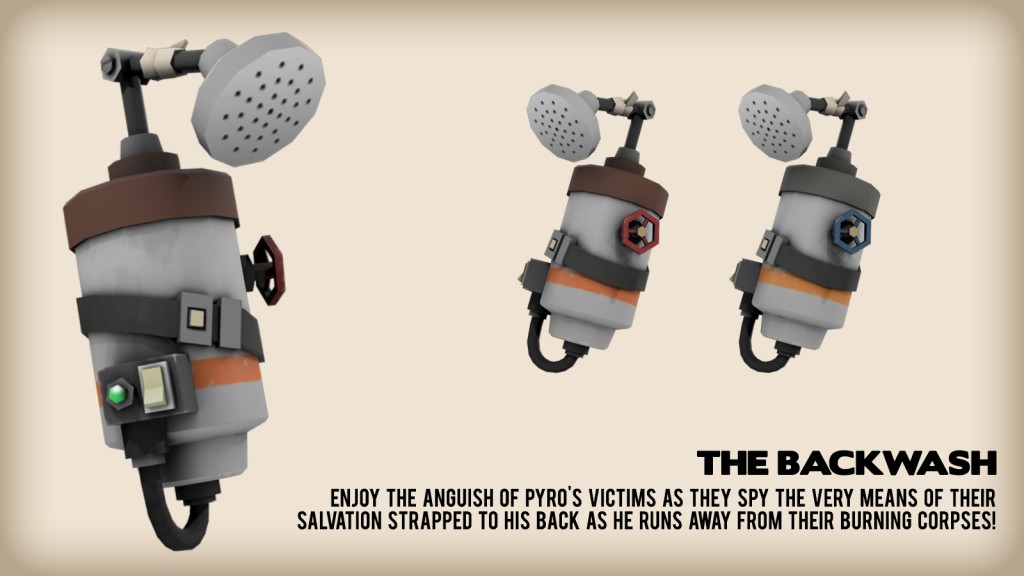
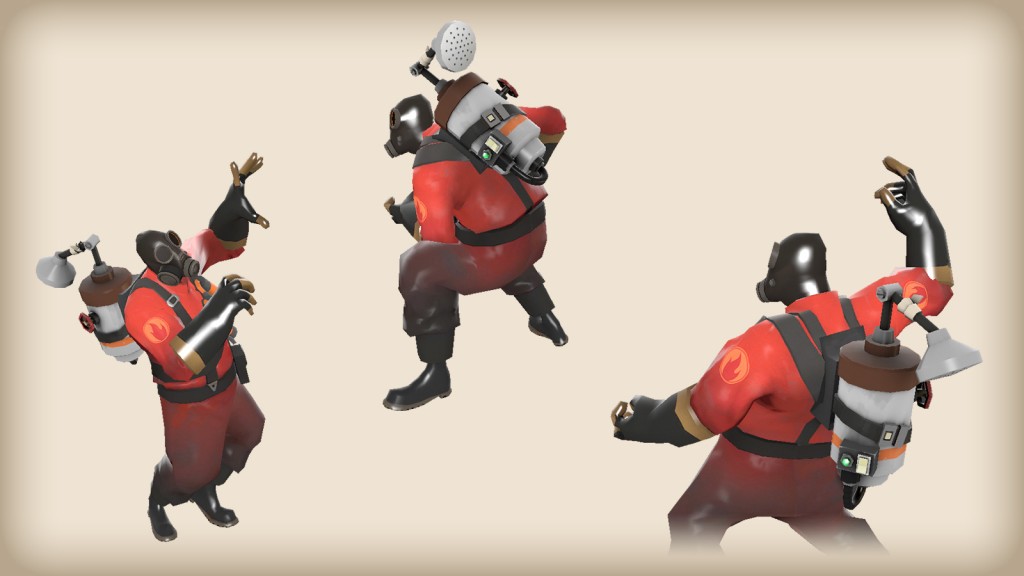
I've recently been dabbling in creating items for Team Fortress 2, via Valve's Steam Workshop feature.
If you've never heard of Workshop, it is a system Valve integrated into Steam where people, outside of the official game development teams, can create assets for use in-game and submit them for community vetting / approval. The respective game's dev team then gets to choose from the crop of community-crafted items to add to their games and usually, to sell as micro-transaction DLC, for which the original creator of the item is compensated.
It's an interesting thing, to say the least. Especially for people like me, who are already interested in creating 3D models and who already play many of the games which participate.
So anyway, I've been trying my hand at making a few items for Team Fortress 2, and so far, so good, I think. As of now, I've created four items, and with each one I feel like I've learned a lot of new stuff about the process, and about being more efficient with the process. So much so that I suspect that I could (and probably should) go back into the original files at some point and update them to include all the things that I have learned. We'll see though.
That's all for now... If you want to check out my Steam Workshop items, check them out here. I'd appreciate an upvote or two!
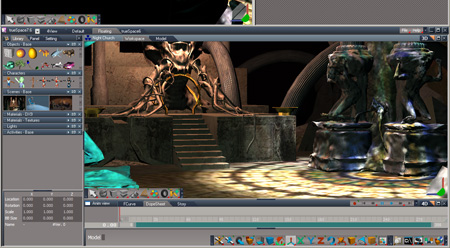
I checked my email this morning and found a nice little nugget of goodness deep within: a message from Caligari informing me that the newest version of TrueSpace has now been made available for free!
You can use this link to register at Caligari.com, after which you'll be able to download the program, the manual, and some quick start videos. Make sure you've got your downloadin' gloves on; in total you'll be grabbing about 313Mb of stuff.
There are a good collection of free video courses available here as well.
I've not even used version 7.6 yet, but from what I have read so far, it seems to be a huge upgrade from 5, which is what I currently use for everything.
I finally had a chance to play around with version 7.6 this morning, and though it is very different from 5, it's also much more powerful. The editor features a realtime rendering engine that can do shadows, reflections, and a lot of other neat effects as you work in the editor... which opens up some great opportunities for fine tuning scenes to look just right before doing a final rendering. I've not been able to get the included offline rendering engine to load up in TS7 yet, but when I get home from work later today I'll play around with it some more and see if I can get it to work.
You'll probably need a pretty decent computer to run everything in real-time, but I've been running the program on the laptop we have here at work, and it seems to run reasonably on that, so most near-modern desktops should be fine.
All in all, this is very exciting for fans of TrueSpace, newcomers looking for a powerful, free 3D package, or anyone who's just yearning for a new design experience. If I wore hats, my hat would be off to Caligari for making such a wonderful tool, and then making it free. Hopefully this is the start of something big (and good) for the company.